SIMS - Installing the IRIS School Data Extractor
- Chris Hayes
We recommend the software is installed on the schools MIS server. However, if this is not possible it can be installed on a PC. This guide will take you through each stage of the install process.
System Requirements
- Server install - Windows Server 2016 or above
- PC install - Windows 10 or above
- Prerequisites can be found here.
- SIMS Schools
- SIMS is installed on the machine you are installing Data Extractor on
- A Sims account with the permissions of 'Administration Assistant', 'TP SuperUser', 'Third Party Reporter', 'Exams Officer' and 'Admissions Officer'. We recommend creating a dedicated account.
- A mapped network connection to the SIMS server (usually S:\SIMS)
- Sims Connected schools will need to install the software on the schools VPN connector machine which has the local copy of Sims installed on it.
- Please ensure your schools URN is up-to-date here.
Step-by-step guide
1. Log on to the server or PC with administrative rights.
2. Download the software by going to the download page and using the authentication code given to you either by the Support Team or the Local Authority. Save this file to your desktop or any other location you can easily access.
3. Double-click the ‘Setup.exe’ file and click ‘Run’ when prompted. N.B. If your system does not have ‘Microsoft .NET Framework 4.7.2’ or above installed, you will be prompted to install this before the setup will run. After it completes you may be asked to reboot the machine. If you are unable to reboot now, please close the installer and run it again to bypass the restart and complete the process.

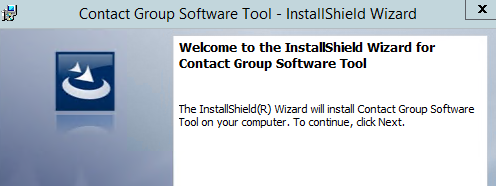
4. Once complete, the ‘InstallShield’ wizard screen will display. Click ‘Next’.
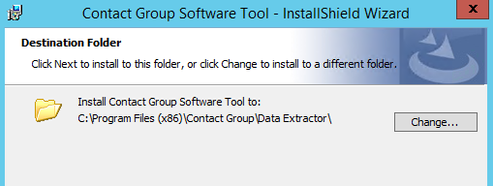
5. Select the required installation folder. We recommend leaving this set to the default location.
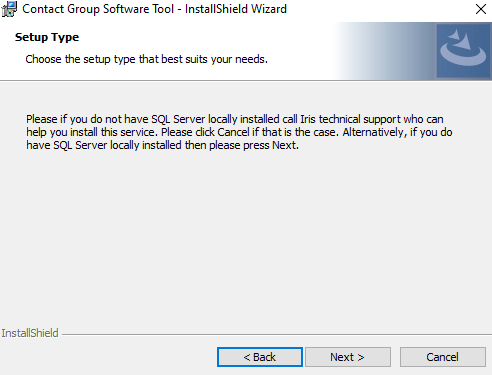
6. The software tool creates a small SQL database and attaches it to your existing SQL instance (selected in the next step). If you do not have a SQL instance installed locally then you will need to do this (instructions here) or install the software on a machine that does. If you require any support with this process please let us know.
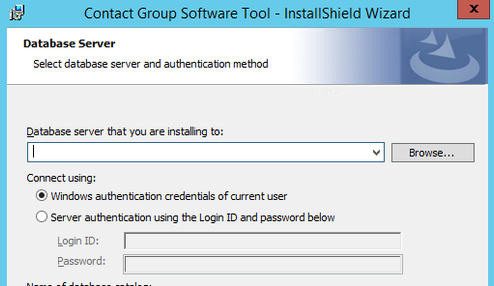
7. Select which SQL Server instance the software tool will use. It is recommended that you use the same instance as your MIS e.g. (local)\SIMS2022. N.B. if you don't have enough permissions on your Windows account to move to the next step i.e. it gives an error, you will need to switch to the SQL authentication option and enter the SA account details for this instance.
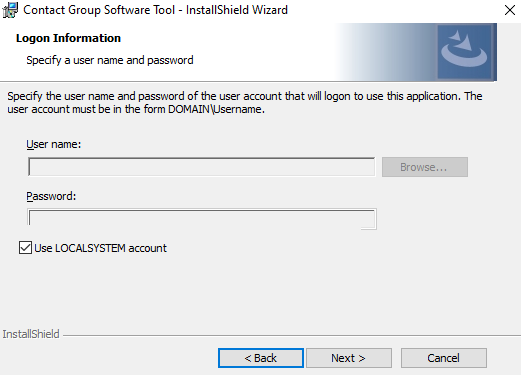
8. The software installs two services, Data Extractor and Data Extractor Monitor. Here you can enter details of which user account these services will run under. This needs to be an account which can access the internet. We recommend keeping LOCALSYSTEM ticked.
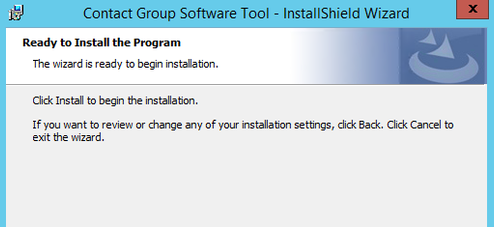
9. The program is ready to be installed. Click ‘Install’.
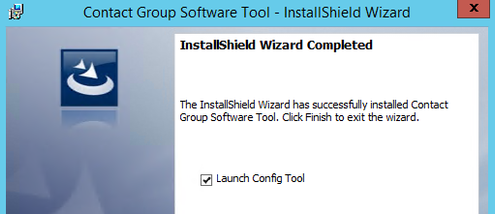
10. When the software has finished installing, tick the ‘Launch Config Tool’ box and then click ‘Finish’. This will launch the configuration wizard, which links the tool to your MIS.
Related articles