Follow the instructions below to download and install the Truancy Call software.
Download Truancy Call Software
...
- Workstations must have Internet access to both secure (HTTPS) and non secure sites, a sound card and speakers
- Workstations must run: Windows 7, Windows 8 or Windows 10 (32 bit & 64 bit versions). Windows 7/8/10 users, please note that the application requires elevation the first time it is run. See below for further information. Windows XP and Vista are not supported.
- Workstations must run: Windows Media Player 9 or above (this can be downloaded here: windows media player 9)
- Microsoft .net framework click here to downloadWindows 10 needs .net framework 3.5 enabled/installed
If your school cannot comply with any of the above requirements contact our support team for further guidance.
...
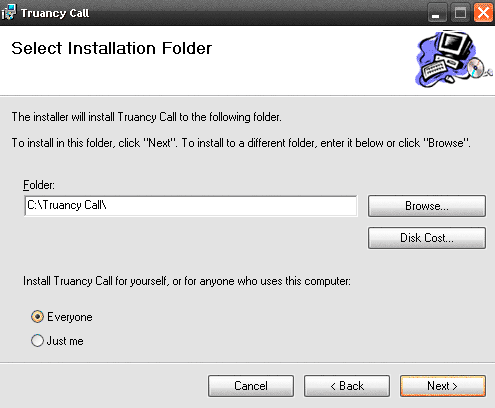
- Permissions - As a default, this program will install to a folder called \Truancy Call (we strongly recommend the program is installed to its default location). Depending on your setup, it may be necessary to grant users of Truancy Call permissions to this folder to allow reading / writing. If the user hasn't got full access to this folder it will cause problems with certain functions performed by Truancy Call.
- Schools must grant Truancy Call access to Integris by completing the RM Datashare. More information about this process can be found here. Once you have done this, please contact our Support Team who will give you the Integris Datashare ID you require to configure Truancy Call.
RM Integris
- For Truancy Call to link into Integris the datashare needs to be setup.
- Within Integris select modules>system management>RM Integris Datashare
- Find Contact Group Truancy Call and enable the data share
- Once done this will send the Establishment id to support at contact group. You will need this to configure Truancy Call. If you do not know what it is please call 033 33 13 14 15 option 1 or try emailing helpdesk@the-contactgroup.com
Installing the Software
Follow and confirm these steps in the order they appear, you may wish to print out this page and tick off each step as you perform it.
...
- We advise leaving the location to the default path - but ensure this radio button is set to 'Everyone' to make it available to all users.
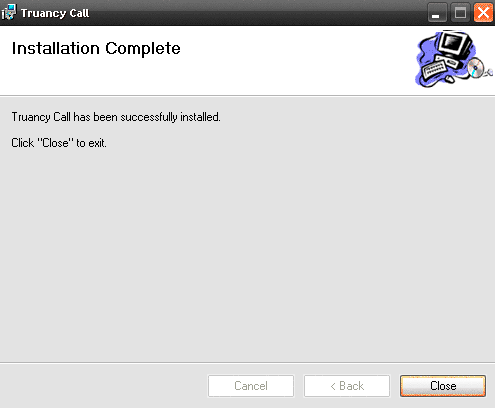
- The setup will complete, click Close to exit and continue with the setup
- Whilst still logged in as an administrator, hold down 'Shift' & right-click the application shortcut, then select 'Run As Administrator'. Once the software has been configured it will run with standard user permissions.
...

